Recently I installed Slackware Linux. In this blog post, I will detail the installation process I went through as well as my first impressions of the OS.
Slackware is a Linux distro that is supposed to be hard to install, hard to configure, and hard to use. This is the main reason I wanted to install it – for the challenge and for geek cred. Every time I engage in a major project like this, I learn something from the experience. That’s why I love it. This is especially true of the Slackware installation process, because Slackware makes you choose all of your packages and settings, and it also makes you partition the hard drive from the command line. Now I was doing this whole installation without reading the guide, so I’m not sure if I did everything right, but I got the crucial parts of the operating system installed (still a few kinks to work out with graphics and networking, but otherwise it works fine).
The first step in the Slackware installation process is of course to download the ISO file, which can be found here. If you’re installing it directly to your computer, you can then burn the ISO to a DVD or Flash drive using a utility like dd. Since I was installing Slackware to a virtual machine, I skipped this step.
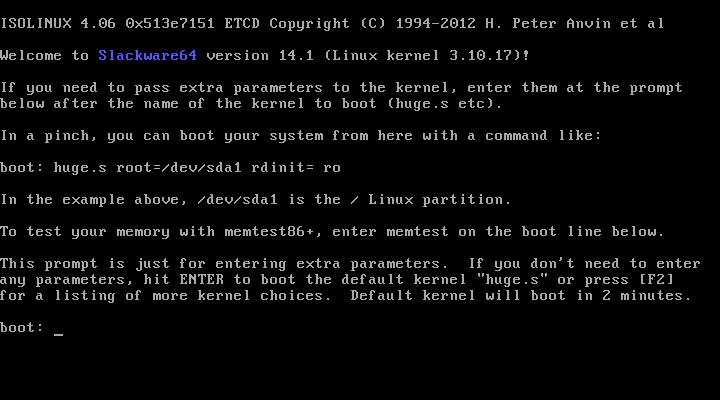
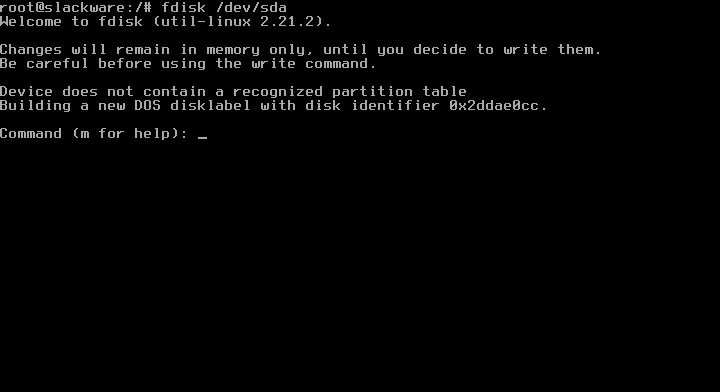
The next step is to insert the install disk (or ISO file) into your computer (or virtual machine) and boot from the disk. Then this screen appears:
At this point I just typed Enter twice to skip the maintenance and keyboard selection steps.
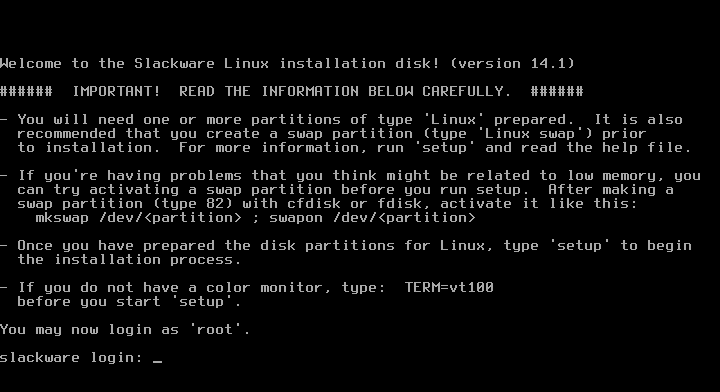
Then enter “root” to log in as root.
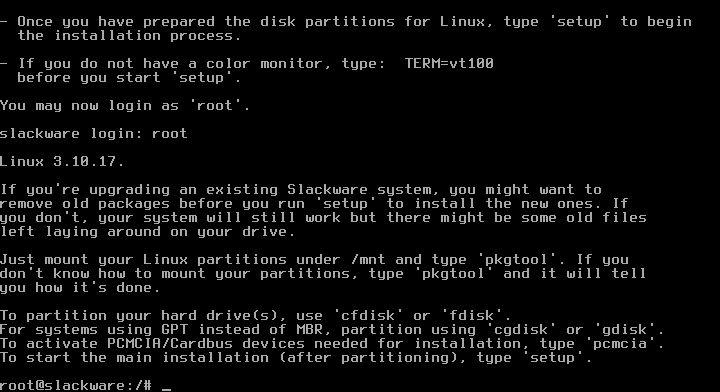
The next step is to partition the drive. There are four options at this stage: you can use either an MBR or a GPT partition table, and you can use either a full-screen, menu-driven program or a command-driven program. The four programs are fdisk, cfdisk, gdisk, and cgdisk.
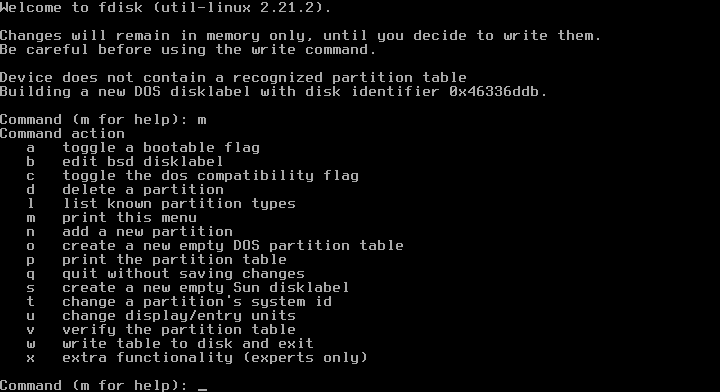
Here are is a screenshot of fdisk when you start it:
And the commands for fdisk:
Here is a screenshot of cfdisk, with three partitions set up:
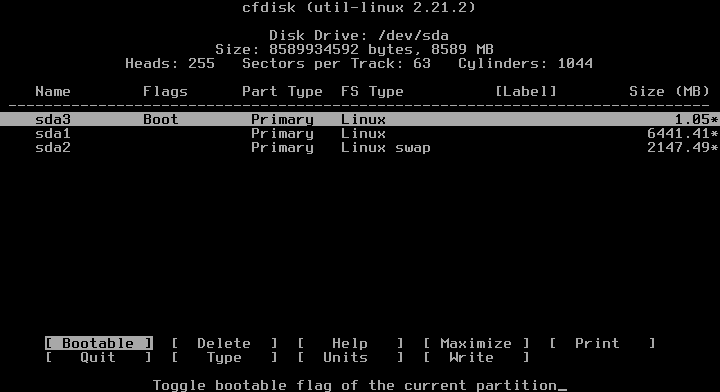
Originally I had an 8 GB hard drive with 6 GB for the filesystem and 2 GB for the swap space, but I soon realized this was not enough, so I created a 20 GB hard drive.
When you partition the drive using an MBR scheme, you will have to decide what partition type to use for each partition. A partition type is an 8-bit field in the MBR that denotes how the partition is used. Here is the list of partition types as shown by fdisk:
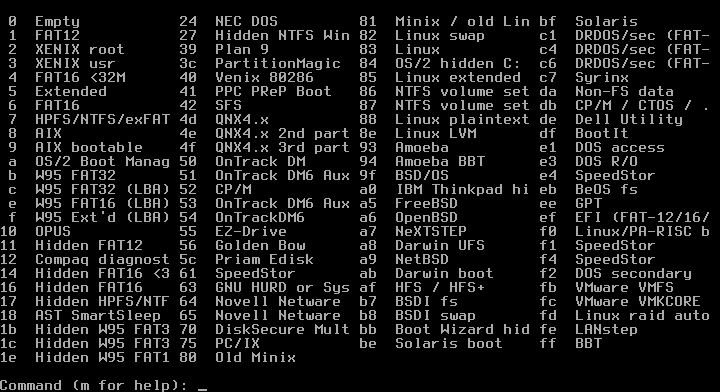
As you can see, a standard Linux partition has a partition type of 83h and a Linux swap partition has a partition type of 82h.
An explanation of the swap partition is probably in order, for those who are unfamiliar with Linux. Basically, an operating system will run out of space in RAM and will swap pages of memory out to the hard drive. Linux gives you two options for how this is done – either a swap file in the Linux partition, or a separate partition devoted to swapping. The latter is generally more efficient.
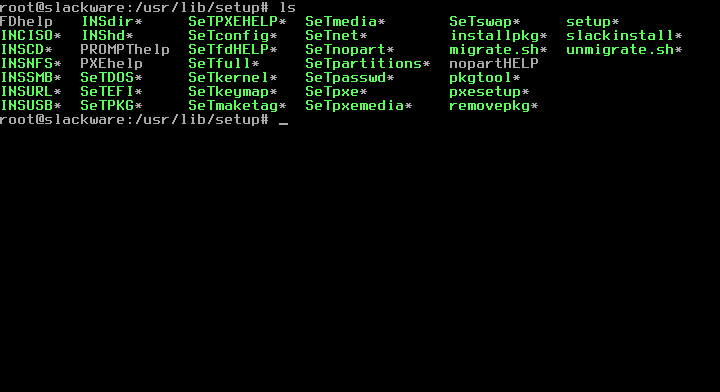
Now we get to the fun part – actually installing Slackware. In the setup directory in /usr/lib/setup you will see several executables.
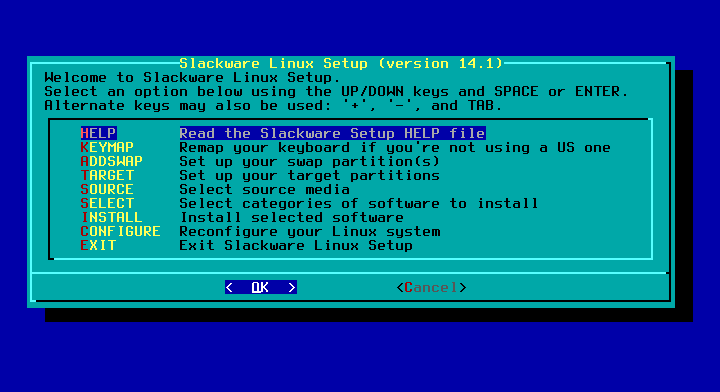
The program you want to run is setup. Type setup at the command prompt. You will then see this screen:
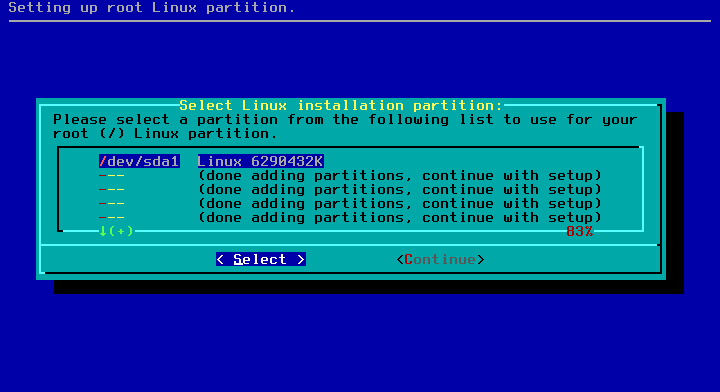
Go down to “TARGET” and press the Enter key. The Slackware installer will now format your target partition with a Linux filesystem of your choice:
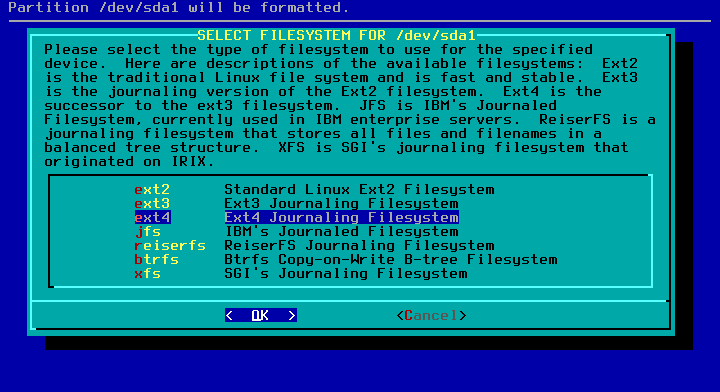
As you can see, there are several filesystems to choose from. I chose Ext4 just because I’m not familiar with the non-Ext filesystems.
After formatting, you will be prompted for what media you are installing Slackware from. This part is pretty straightforward.

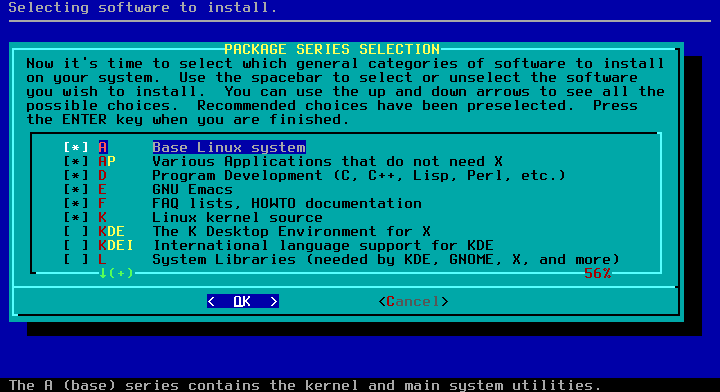
Then you will be prompted to choose which categories of packages to install. Each category is explained pretty well, so I feel no need to explain them further:
Then you choose what installation mode to use:
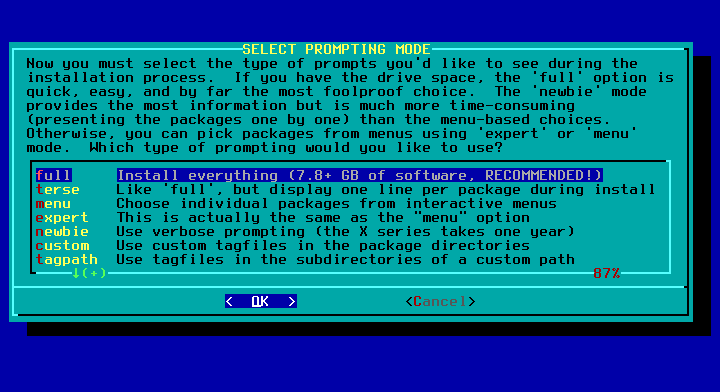
I chose newbie mode the first time I installed it (I had to install it multiple times before I got it right), because I wanted to understand each of the packages that were being installed. Newbie mode isn’t recommended, though, because it takes a really long time, especially if you’re installing the X environment.
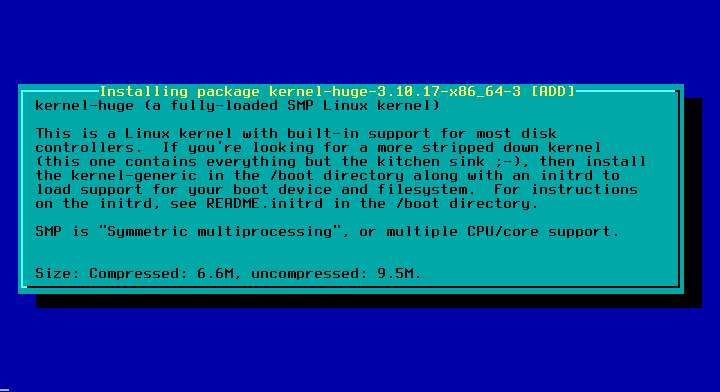
Here is a sample screenshot of the kernel being installed:
The Slackware installer doesn’t tell you this, but what it’s actually doing is running the pkgtool utility. This is a menu-based package manager that provides an easy installation process for Slackware packages. Part of the Slackware philosophy is that the operating system should be complete out-of-the-box. This means that the initial installation comes with a lot more software than, say, Debian. This makes Slackware preferable in my opinion, because searching the Internet for drivers and other packages is a pain in the ass.
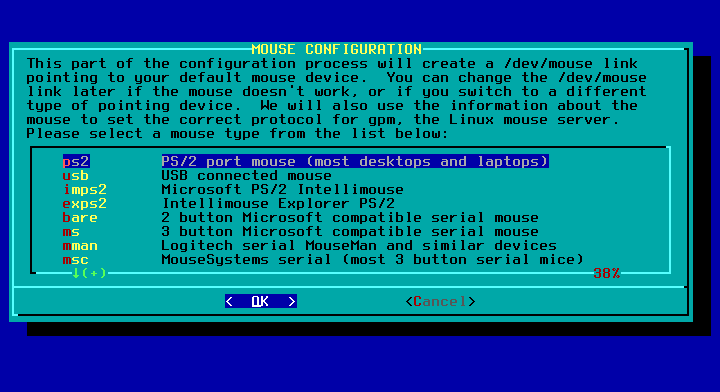
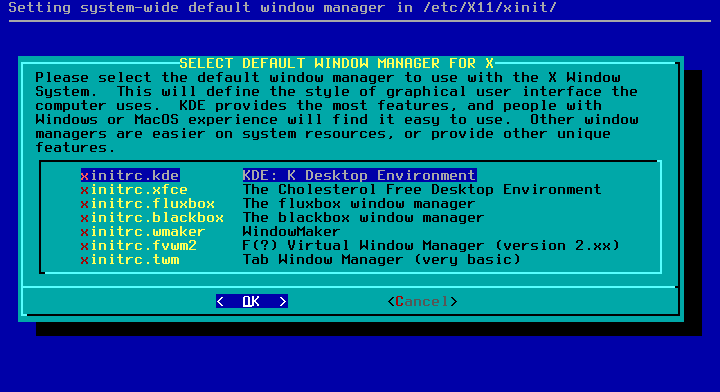
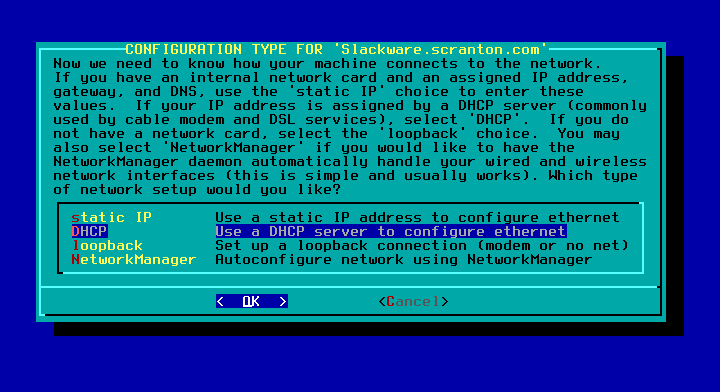
The next step is to configure the system. The installer runs several config programs for you. You can run these programs again at any time if you want to change the configuration of your system.
When I finished with the installation and rebooted, I found that the Linux partition was unbootable. I went to a Linux forum and asked about this problem, and they suggested using the chroot command to change the mount point for /dev/sda1 to my root. That worked.
There are still some problems with this installation that I haven’t worked out. There’s no network access. The X Window System can’t find my screen when I try to start it up. And the top utility makes it so my commands don’t echo. I will have to figure out how to solve these problems in the future.
